

Permissions
To ensure that Camera Graph functions correctly, you’ll need to authorize certain macOS permissions. Here’s a step-by-step guide to help you through this process:
Enabling the Virtual Camera
Section titled “Enabling the Virtual Camera”Camera Graph operates as a background process, creating a virtual camera that any application that camera inputs can utilize. After granting Camera access, click “Next” in the onboarding view. You’ll be guided to install the virtual camera.
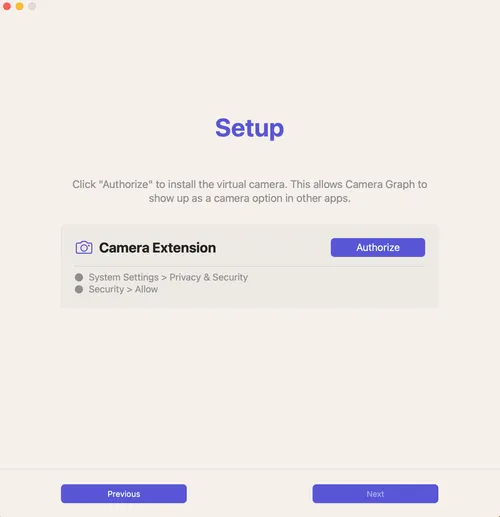
Click “Authorize,” followed by “Open System Settings.”
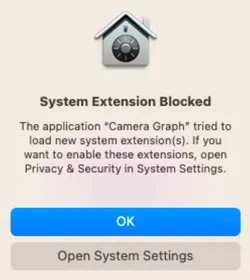
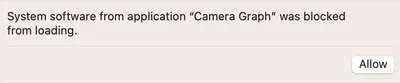
This action takes you to the “Privacy & Security” section. Click “Allow” to enable Camera Graph to run in the background.
The authorize button should change to green and say “Success” if things worked properly.
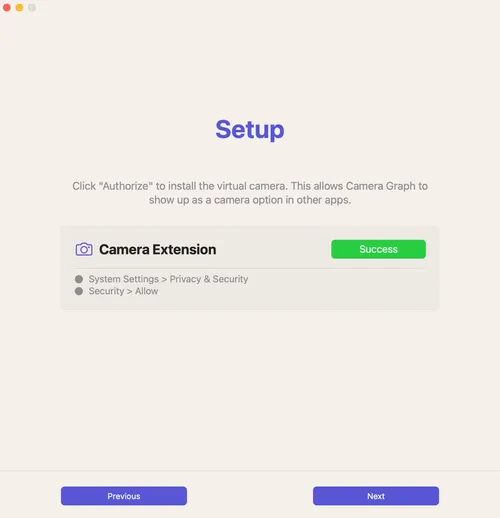
For the extension to work correctly, you’ll need to quit and restart the app after this step.
Camera permission
Section titled “Camera permission”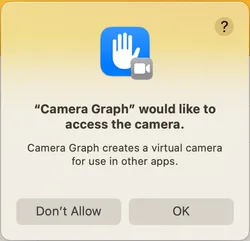
The first time you add a Camera element to Camera Graph, you’ll be prompted to provide access to your Camera. Upon seeing this prompt, simply click “Ok.” This will enable Camera Graph to interface with any camera connected to your Mac, including your iOS device, via the Continuity Camera feature.
Granting Screen Sharing Access
Section titled “Granting Screen Sharing Access”If you plan to use the Screen Share feature or incorporate a Screen Share element into your scene, you’ll need to authorize screen sharing for Camera Graph. The first time you add a Screen Share to Camera Graph, you’ll be prompted to give permission.
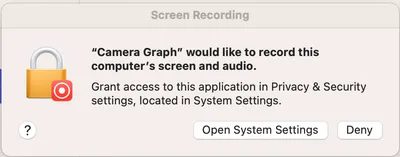
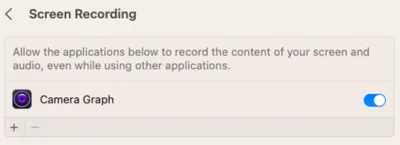
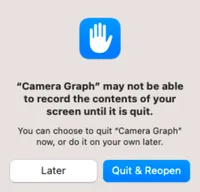
To grant access, click “Open System Settings.” In the window that appears, find Camera Graph and toggle the selector next to it to the “on” position. After this, click “Quit & Reopen.”
At this point, all necessary permissions should be in place, and you’ll be ready to fully utilize all of Camera Graph’s functionalities.